
Disclosure: This post contains affiliate links. I may receive compensation when you click on links to products in this post. For an explanation of my Advertising Policy, visit this page. Thanks for reading!
How to enable the plugin editor in WordPress.
If you know how to code, and know PHP, HTML, CSS, and/or JavaScript, you may want to customize some of the WordPress plugins on your site so that they function exactly how you want them to. To do this, you will need to enable the plugin editor on your WordPress site.
To enable the Plugin Editor in your WordPress website:
- Go into your WordPress Dashboard.
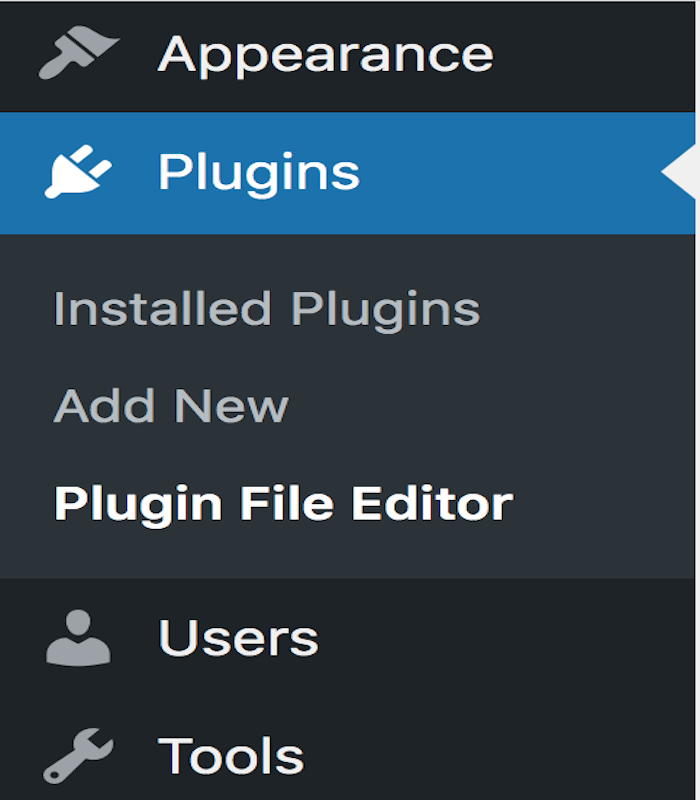
- Go to “Plugins”.
- Click “Plugin File Editor”
- Go to the “Select Plugin To Edit” Box, located in the upper right corner.
- Select the Plugin you wish to Edit.
- Save Changes.
You can also use a WordPress Plugin Editor “Plugin” like these:
Can I even edit WordPress plugins?
If you’re asking yourself “Can I even edit WordPress plugins?”, the short answer is: yes, you can! You might be surprised at just how easy it is to make changes to plugin code.
Of course, before you start editing any plugins, it’s always a good idea to create a backup of your site first.
That way, if something goes wrong, you can always restore your site to its previous state.
Once you’ve created a backup, you can begin editing plugins by going to the “plugins” folder in your WordPress installation.
Here, you’ll find all of the files for each plugin that is installed on your site.
To edit a plugin, simply locate the file that you want to change and open it in a text editor.
Once you’ve made your changes, simply save the file and upload it back to your server.
That’s all there is to it!
Now you know how to edit WordPress plugins like a pro.
How do I disable the plugin editor in WordPress?
To get disable your WordPress plugin editor you’ll need to login to your Web Hosts cPanel or similar control panel interface first, then follow the steps below:
- In cPanel go to Files >> File Manager.
- A new tab/window will open. On the far right, you will see a list of files for your website, Each website’s file is named accordingly.
- Click on the website’s files that you want to change.
- Navigate to the public_html directory WordPress folder and click.
- To to right, you will see the “wp-config.php” file. Click on that, then click, “Edit”.
- After you click to edit, you will see a popup to confirm the editing of this file. This is a cPanel precaution that authenticates your access. Click, “Edit” once again.
- You will see a bunch of coding lines. Don’t worry about them.
- Now, go to the bottom of all that code. Then copy and paste the following: define( ‘DISALLOW_FILE_EDIT’, true ); into it.
- Click “Save”.
- Now, go back to your WordPress Dashboard and either refresh the page or re-log back in.
- Go to Plugins.
- Now the “Plugin File Editor” that normally sits right below the “Add New” is gone, “Disabled”.
That’s it!
How do I edit HTML Plugins in WordPress?
WordPress is a great platform for developing websites and blogs. One of the things that makes WordPress so popular is the wide range of plugins available.
These plugins can be used to add functionality to your site or to change the appearance of your pages.
However, sometimes you may need to edit the HTML code for a plugin in order to make it work correctly with your theme or to customize its appearance.
Luckily, WordPress makes it easy to edit HTML plugins.
First, you’ll need to access the HTML code for the plugin you want to edit. You can do this by going to the Plugins section in your WordPress Dashboard and clicking on the “Plugin File Editor” link.
Once you’re on the page, go to the top right corner of the File Editor and in the Search Bar, click on the plugin that you want to edit. This will take you to the plugin’s code editor page.
Next, simply make the changes you want to the code and then click on the “Update File” button to save your changes.
That’s it! Now you know how to edit HTML plugins in WordPress.
How to edit a plugin’s CSS in WordPress.
As a WordPress plugin developer, there are times when you need to make changes to your plugin’s CSS.
Fortunately, the process is very similar to editing your plugin’s HTML.
First, open your plugins directory and locate the CSS file that you want to edit.
Then, open the file in your preferred text editor and make the necessary changes.
Once you’re finished, save the file and upload it to your WordPress site. That’s all there is to it!
So next time you need to edit your plugin’s CSS, just follow the same simple steps that you used for editing your plugin’s HTML and you’ll be good to go.
How to enable the plugin editor in WordPress. Summary.
In order to edit your plugins in WordPress, you need to have the plugin editor enabled.
The process for enabling the plugin editor is very simple and only takes a few seconds.
First, you’ll need to log in to your WordPress Dashboard. Then, go to the Plugins section and click on the “Plugin File Editor” link.
Once you’re on the page, go to the top right corner of the File Editor and in the Search Bar, click on the plugin that you want to edit. This will take you to the plugin’s code editor page.
Next, simply make the changes you want to the code and then click on the “Update File” button to save your changes.
That’s it! Now you know how to enable the plugin editor in WordPress and how to edit your plugins.
